
Manicure fabric box - easy tutorial
/
Some days you just wake up and in the haziness of that early morning cup of tea, an idea just pops into your head and before you know where you are - it’s lunch time and the housework is untouched, but you have solved a problem with a little stitching.

Recently I have noticed that my daughter and I can often be found early in the morning or late in the evening in the kitchen doing our nails. Sometimes it is just a nail file that is needed but it is rather nice to take time out to just chill and do a home manicure and ‘stuff’ started to accumulate on the kitchen island. This was a problem when I wanted to clear the space for supper and at first I put a small pot there to capture all the little tools, but once the pots of nail colour began to appear, I thought I needed to find a solution. This morning at 7.30 am, I was looking at my rather messy kitchen and suddenly resolved to do something about this. Here is how it went…….

Two pieces of feature fabric 13” x 6”, layered with batting and backing and quilted using free motion stitching.

Two pieces of lining fabric also 13” x 6” and two pieces of thick ‘bag’ interfacing 12” x 5.5”

Some spray on adhesive (if the bag interfacing is not iron on).

Fix the stiff interfacing on to the back of quilted fabric, making sure that top long edge is aligned.

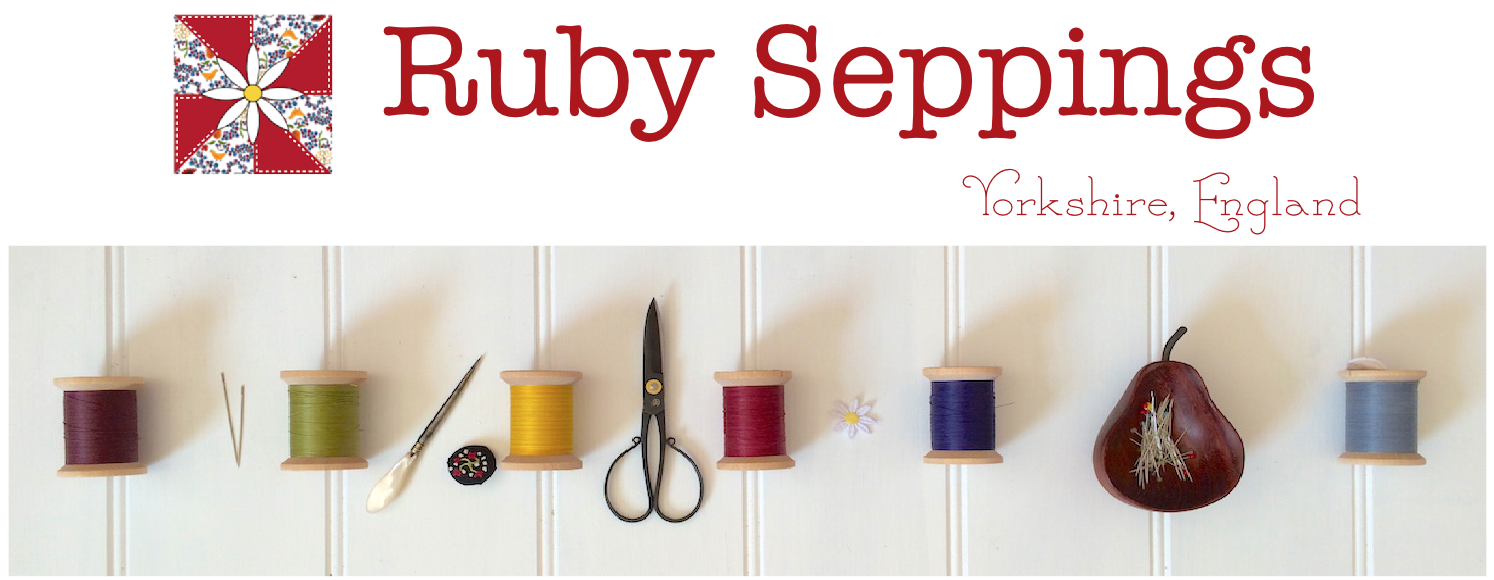
Stitch the two pieces right sides together, along the bottom edge, keeping your line of stitching just underneath the interfacing.

Mark carefully and cut a 2” square from each corner.

Open out and press the centre seam open.

Fold it back together again and stitch the side seams - as before just underneath the interfacing layer.

Box the corners by opening up your box and matching the edges of the cut square. Sew on the machine with a half inch seam.

Stitch all around the top with a scant quarter inch seam allowance to hold everything firm.

I used a piece of self adhesive template plastic to make a base for the box - this step is not absolutely necessary. You could use any kind of firm material including another piece of bag stiffner or even cardboard if you are not planning on washing the basket.

I decided to stitch this in place with a single line of machine stitching down the centre.
Make up the lining bag in the same way, but with a quarter inch seam all the way around, but remember to leave a gap at the bottom for turning.

You are now ready to assemble the basket.
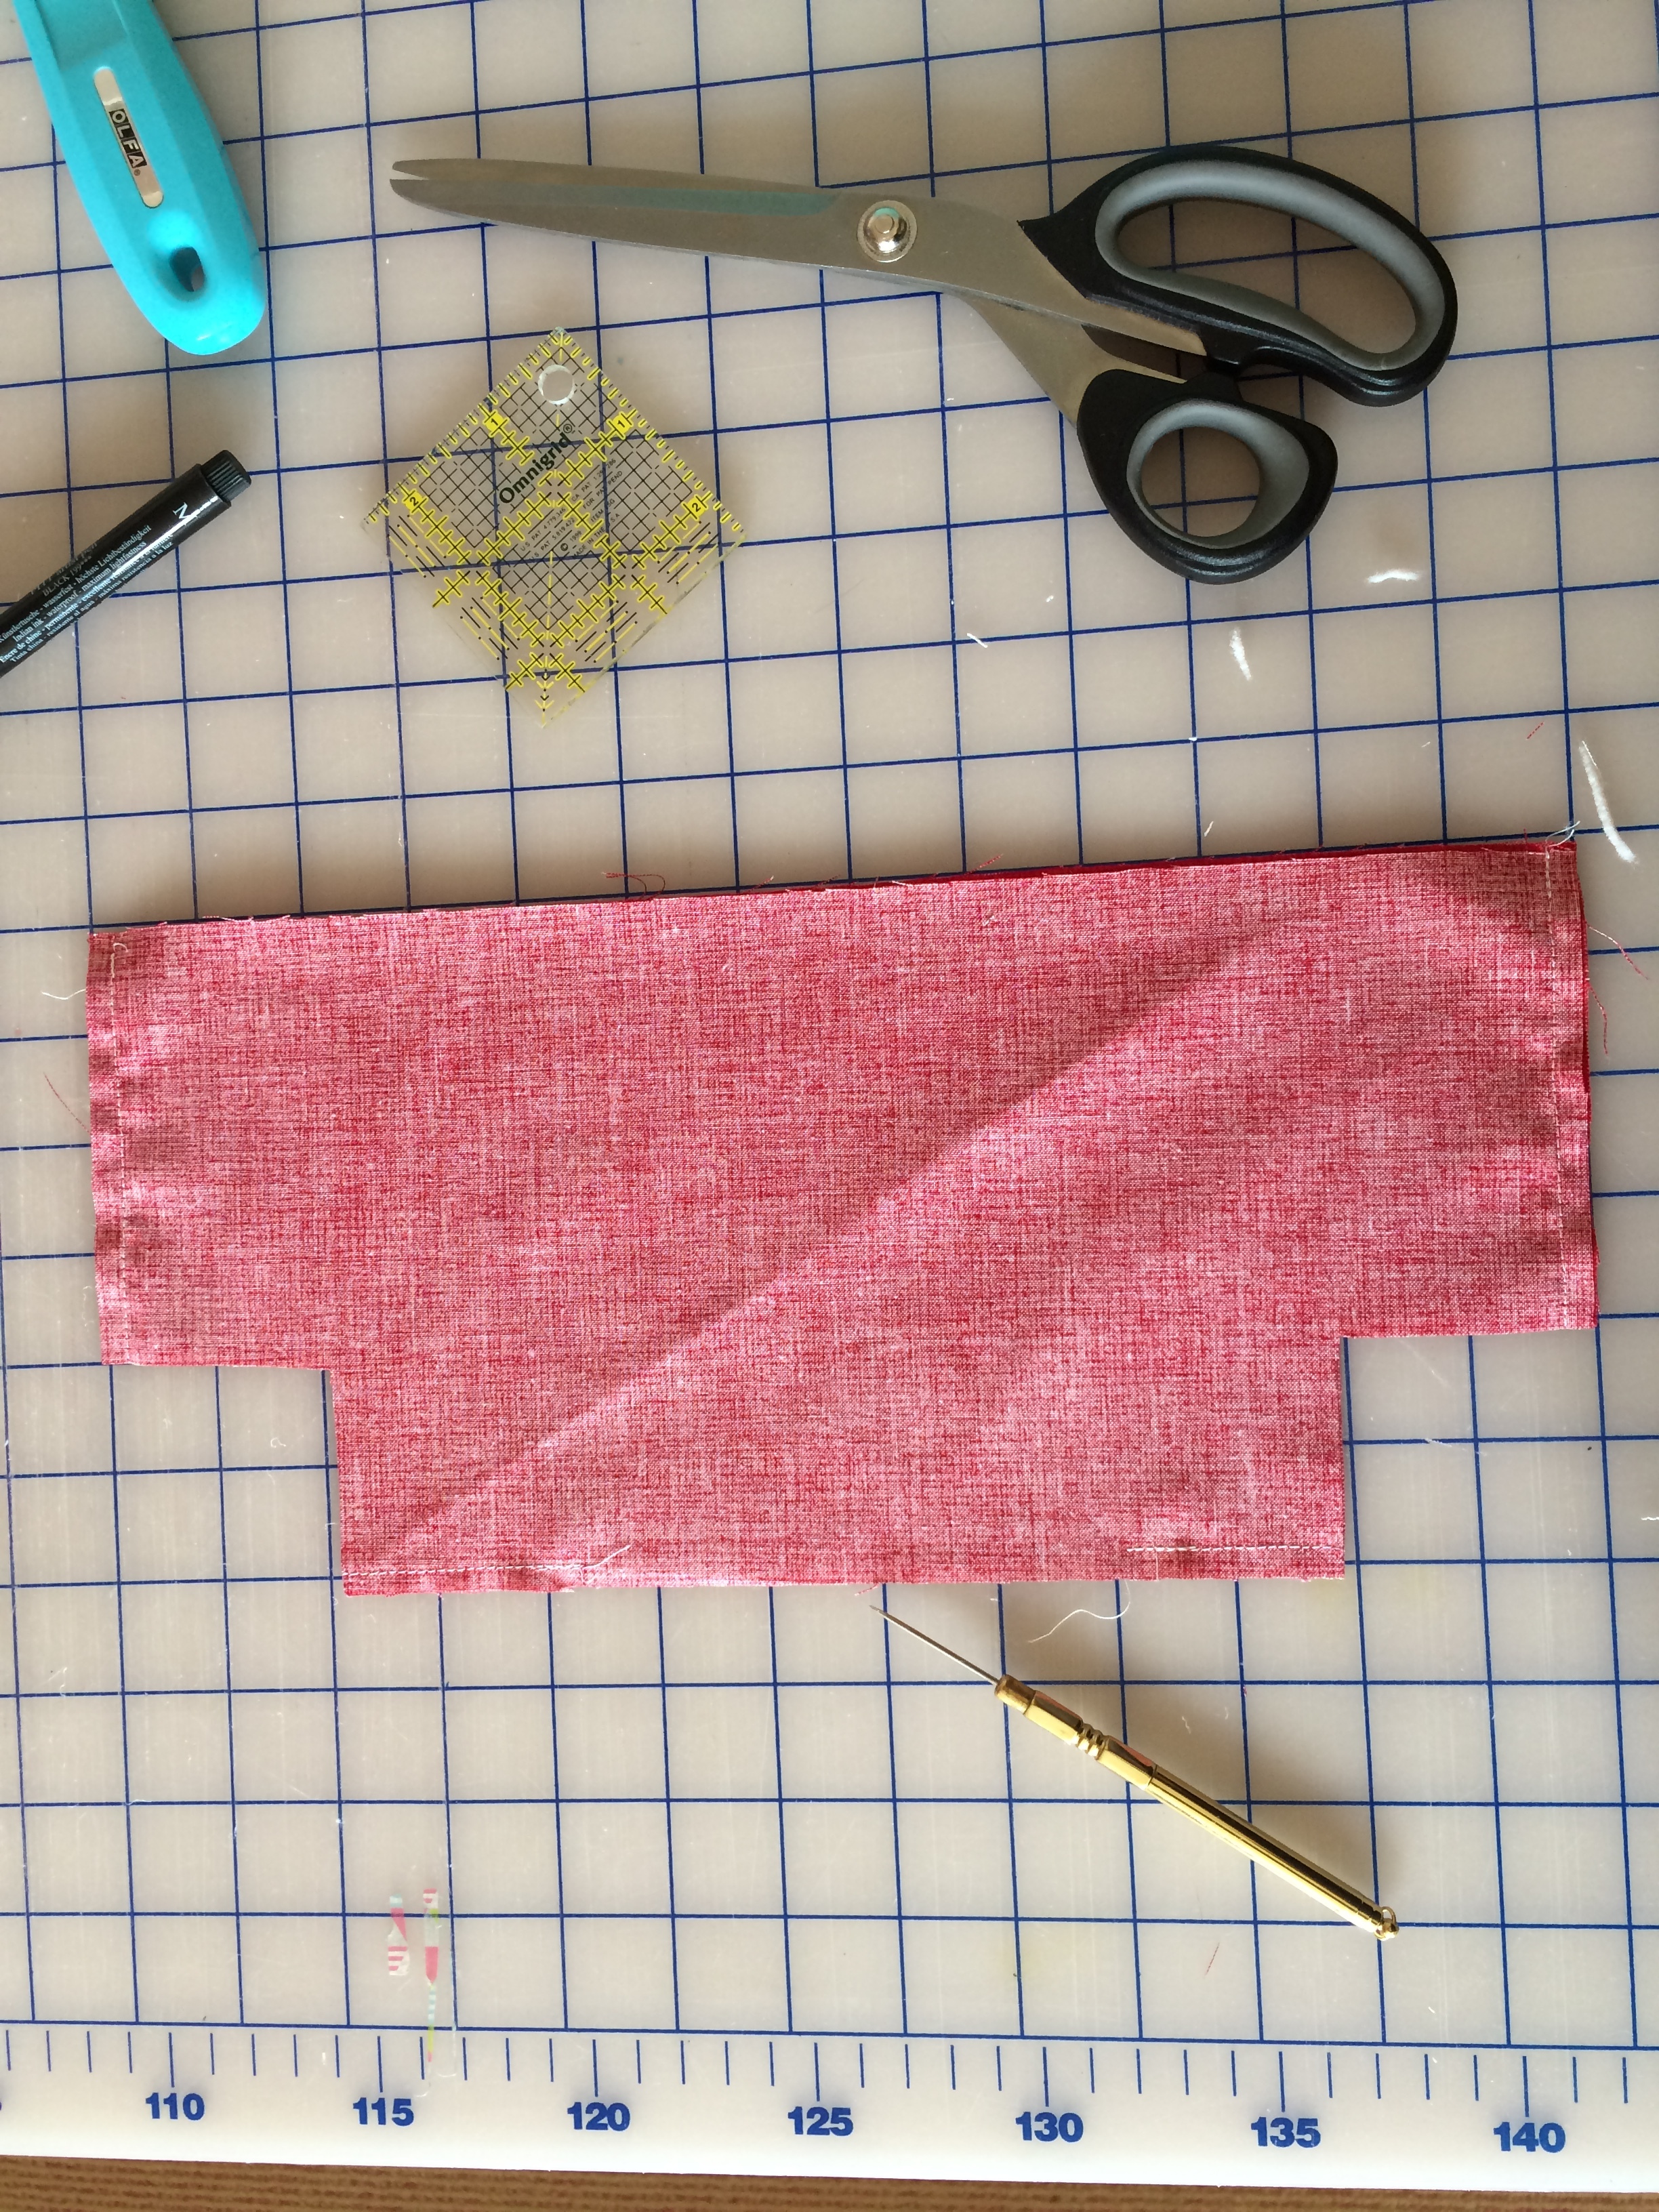
Make sure you have your basket the right way out. Place it inside your lining bag, which should be wrong side out - there by placing your fabrics right sides together. Stitch all the way around the top edge using a 5/8 to half an inch seam allowance.

Pull your basket through the hole at the bottom and you will see that it is almost finished. Press the lining around the edge. It will sit so that the lining shows above the interfacing seam. Stitch all around to give a neat finish. Close up the hole in the bottom of the bag neatly.

Pinch the corners of the basket and secure with a few hand stitches. Adding jingle bells (mine are from the Lindt easter bunnies!) just adds a splash of whimsy.

So I might have nailed that problem…..now to the rest of the kitchen mess…….mmmmmm