

Making Amy Butler's Weekender Bag
/A while ago (actually 4 years to be precise) I made a ‘Weekender’ Bag from Amy Butler’s pattern. It was not an easy make, especially for someone like me who had never used piping before and is not all that comfortable with zips. It actually turned out remarkably well and I have used it plenty. It is not brilliant though and I have often thought about making another one …. with hindsight. Recently I saw on Instagram, a beautiful version made by ‘a.crafty.fox’ and was suddenly inspired to try again - helped by the fact that I am just finishing up my second ‘Shoreham’ quilt, I had a million scraps left over and figured the two were a match made in heaven….or is it hell.
So here we go again - a text print weekender bag…..take 2.

I read the tips and suggestions that Amanda at a.crafty.fox had written on her blog and looked at my original bag closely too, to think about what I might do to improve on it. My first thoughts were that I felt that I wanted it to be firmer all round and thought that the quilting would help with this, but also used Peltex interfacing as this is fusible (which I generally find much easier to work with) and very firm. It does actually recommend this in the pattern and I am not sure why I didn’t use it in my original bag, but probably because it wasn’t available locally. It seemed to me that ‘A crafty fox’s’ suggestion of making the straps wider and using quilting wadding to soften them on your shoulder would also be a key improvement, so planned for that too. I loved her ‘on point’ patchwork pockets and wanted to incorporate this idea. In general I always love quilts that are on point so set about making the patchwork fabric for these. The first thing to do was to cut up the scraps into 2.5 inch squares. As they began to pile up, I was rather excited and added in more and more squares from my text print stash too and the good thing about mixing up all the squares like this, is that you can start to see what is going to stand out and how the fabrics will be best placed for the bag pattern
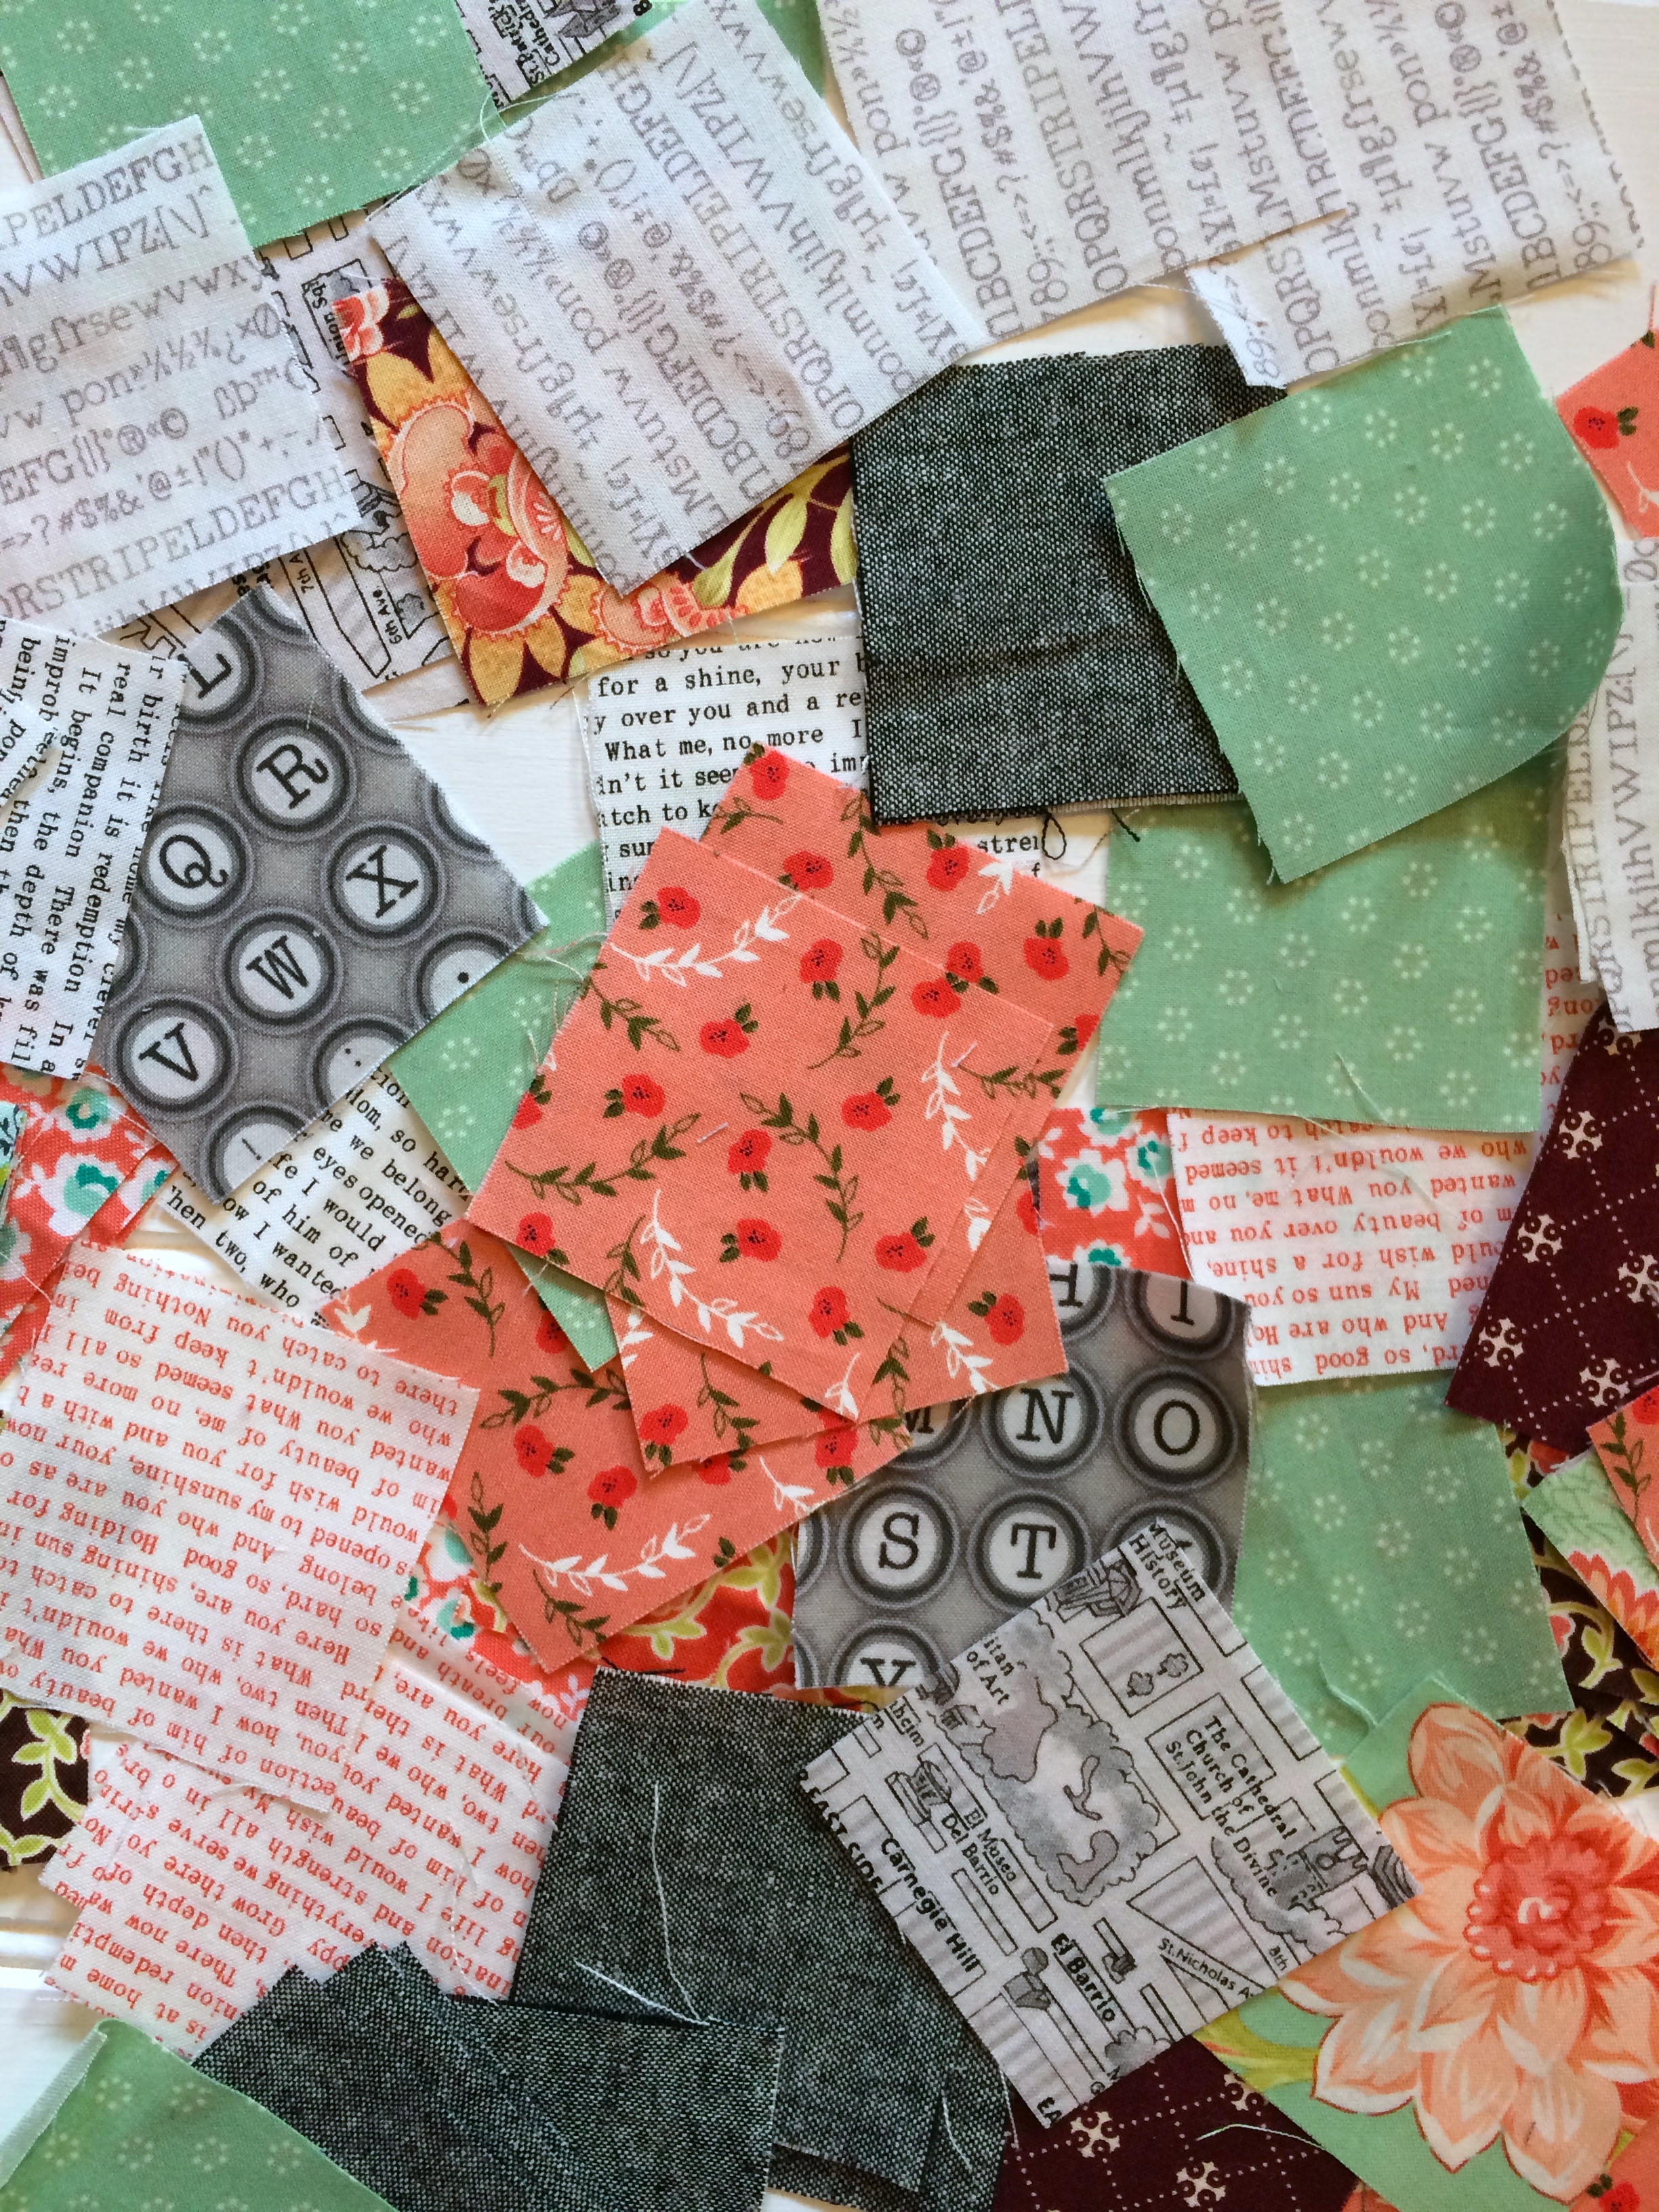

What you need to remember about working with ‘on point’ patchwork is that you have to place the pocket pieces at a right angle on the fabric and I could see straight away that I was going to have to pick and choose how to place my prints and that I would have some wastage. I tried at first to leave blocks off where I knew I would cut away, but it destabilised the whole fabric of the pocket so I simply added in plain white scraps there. It sounds a bit mad, but it is quite hard to keep everything from distorting if you leave squares off, so this seemed like the best compromise. With each row, I placed my pattern on to see how it would fall. Constant pressing and spray starch is very helpful here to keep everything in line.
Once I had made the pockets I thought about the background fabric. I had wondered about making this patchwork too, but decided it would be too much and to stick with just the essex linen. I laid the look of the project out and decided on a low volume typewriter keys fabric (which I adore) for the handles, so I made those next. Wider than on the pattern instructions and with wadding inside and several rows of stitching.
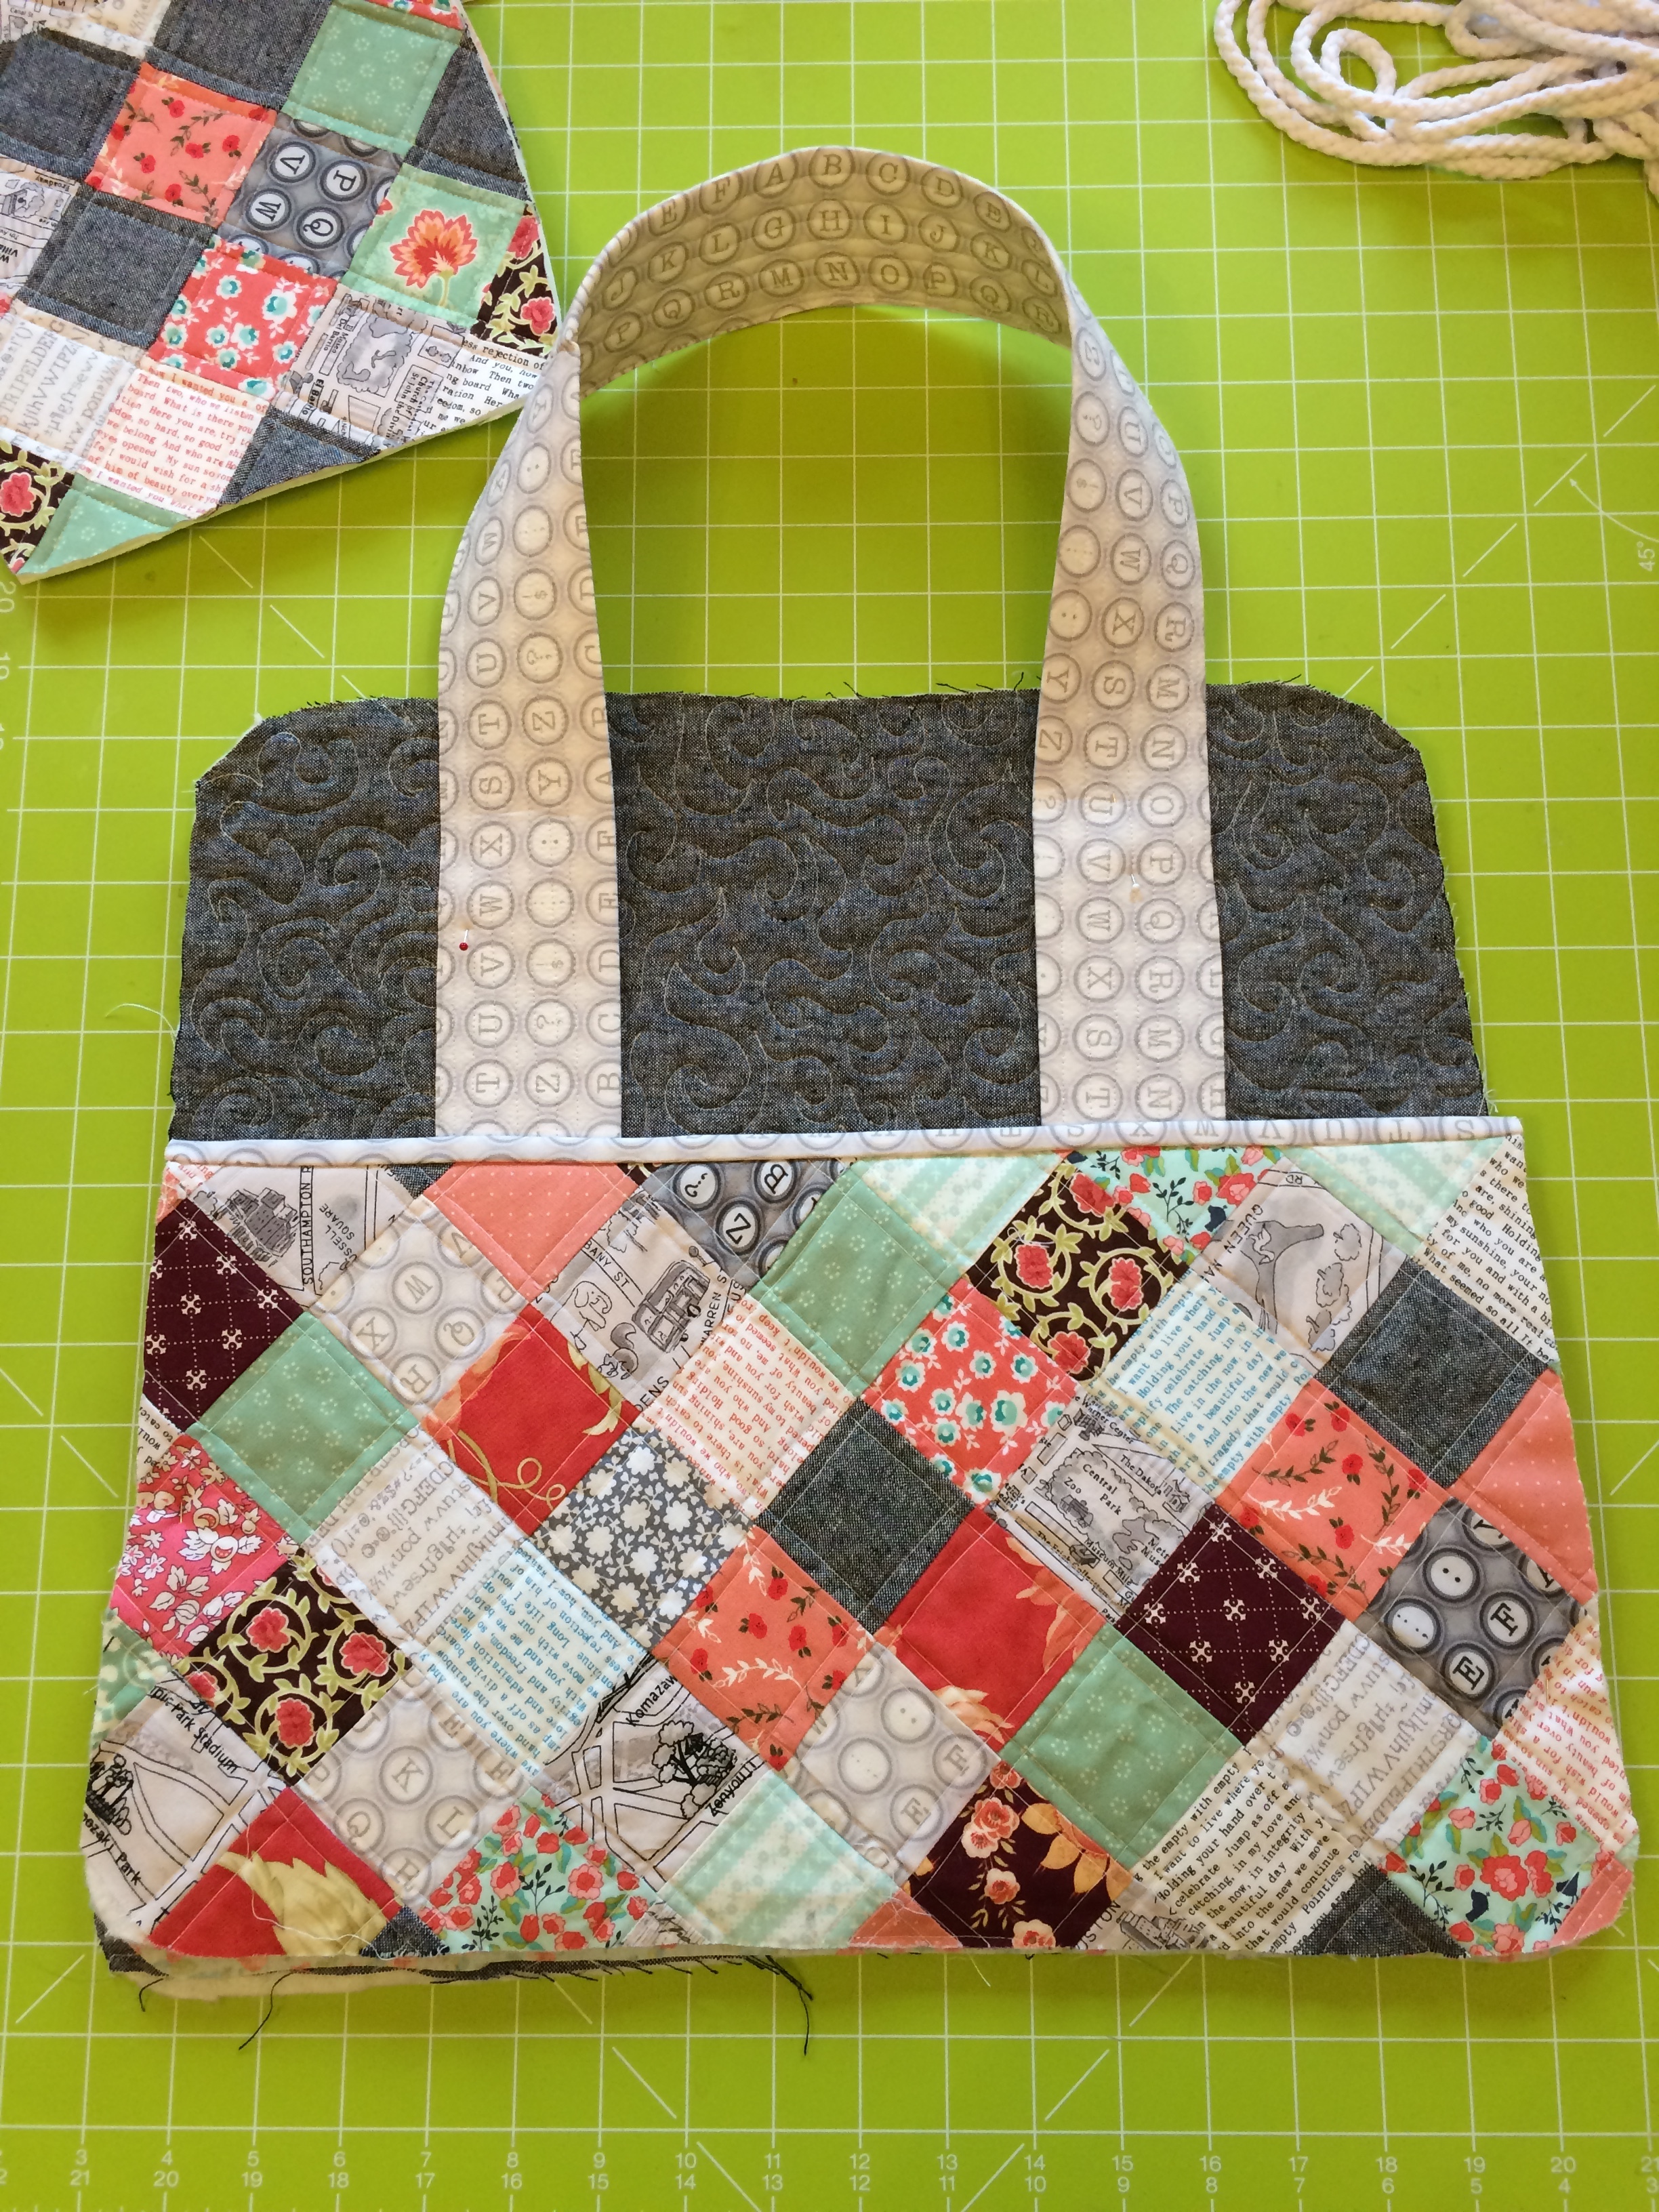
With one side now done, I could start to see how the bag was shaping up and I was pretty delighted with it so far. I made the two smaller side pockets with on-point blocks as well, but decided that the other main panel pocket should be something different. I had some vintage typewriter print fabric in my stash and fussy cut a block that colour matched my other prints. I wanted to incorporate the theme of ‘Literary Threads’ my new venture for the new year (more about that later) and it took a bit of playing around to decide how this would look, but it worked in the end. The addition of a little bit of hand stitching to echo the ‘on-point’ style just added an extra touch.

With all my pattern pieces assembled it was time to put the zip in….first major hurdle for me. I had bought a chunky plastic heavy duty zip and really liked the look of it with the bag, however, I hadn’t really thought this through because the pattern calls for a concealed zip and probably this was a bit chunky. It’s a long zip to put in and I recommend using that double sided tape to hold it in place before stitching. Even so, it was a bit of a job and of course it is by no means perfect. The great thing about this pattern is that the ends of the zip are concealed in the side pockets so if it isn’t quite perfect at the ends, it won’t matter as long as it is firmly in place.

So at this point I am thinking ‘game on’ - it is looking good. I could already see that it was going to hold it’s shape as a bag, but I was full of trepidation about actually fixing it together with the piping. Can I just say it was a total ‘B’ of a job. You need alot of patience, jeans needles to hand and some muscle to get it all through the machine. It took me 3 hours to actually do this and I broke 3 needles. it is not easy and the second side is harder because you have all the bulk of the first side to contend with too. Wonder clips are helpful, but you have to be careful that they don’t slide as you push the bag through the machine. Here too it is essential that the peltex was cut away from the seams and this was my mistake. I had quilted it right up to the edge on one of the panels and it was almost impossible to get the needle to go through all the layers.


Once it was all together though, I was triumphant. Even turning it inside out seemed difficult it was so strong and springy, but it looked great….honestly, I was surprised. I added some extras here - bag feet, a metal tag saying ‘handmade’ and a key chain tab. It was starting to look pro.
The lining was the final piece and with this done, I stood back in amazement. I had actually made a pretty cool bag. I have plasters on 3 fingers, I have a bent needles and broken needles and sore wrists, but I have a PROPER bag - it’s not an amateurish effort this time….it’s a PROPER bag.

All ready for days out and about working on my new project for 2019 ‘Literary Threads’. It is going to be all about Stories and Stitchery…I hope you will check back in the New Year to see all about this new venture.

Meanwhile wishing you and yours a very Happy Christmas, laden with mince pies and family time and all good things…xxxx
You might also be interested in ‘Making the Ansel Camera Bag here