
A handcrafted, perfectly matched Clutch Bag
/With holidays and exhibitions looming, I feel way behind with everything. I seem to have endless lists kicking around in my sewing room that I never get to the bottom of and haven't had a chance to catch up with my vintage revival quilt for a while. However, I do have something to share with you and this one I'm really proud of. We are going to a family wedding in a couple of weeks and a few months ago I bought a dress, rather on the spur of the moment really. It is very pretty, but with washed watercolour like flowers in violet and emerald brushed across a white background, it is an unusual choice for me. I nearly always choose red or blue when it comes to clothes, and so this departure is not only out of my comfort zone, but it meant that I didn't really have any accessories to go with it. I decided to have a go at making a clutch bag to match.

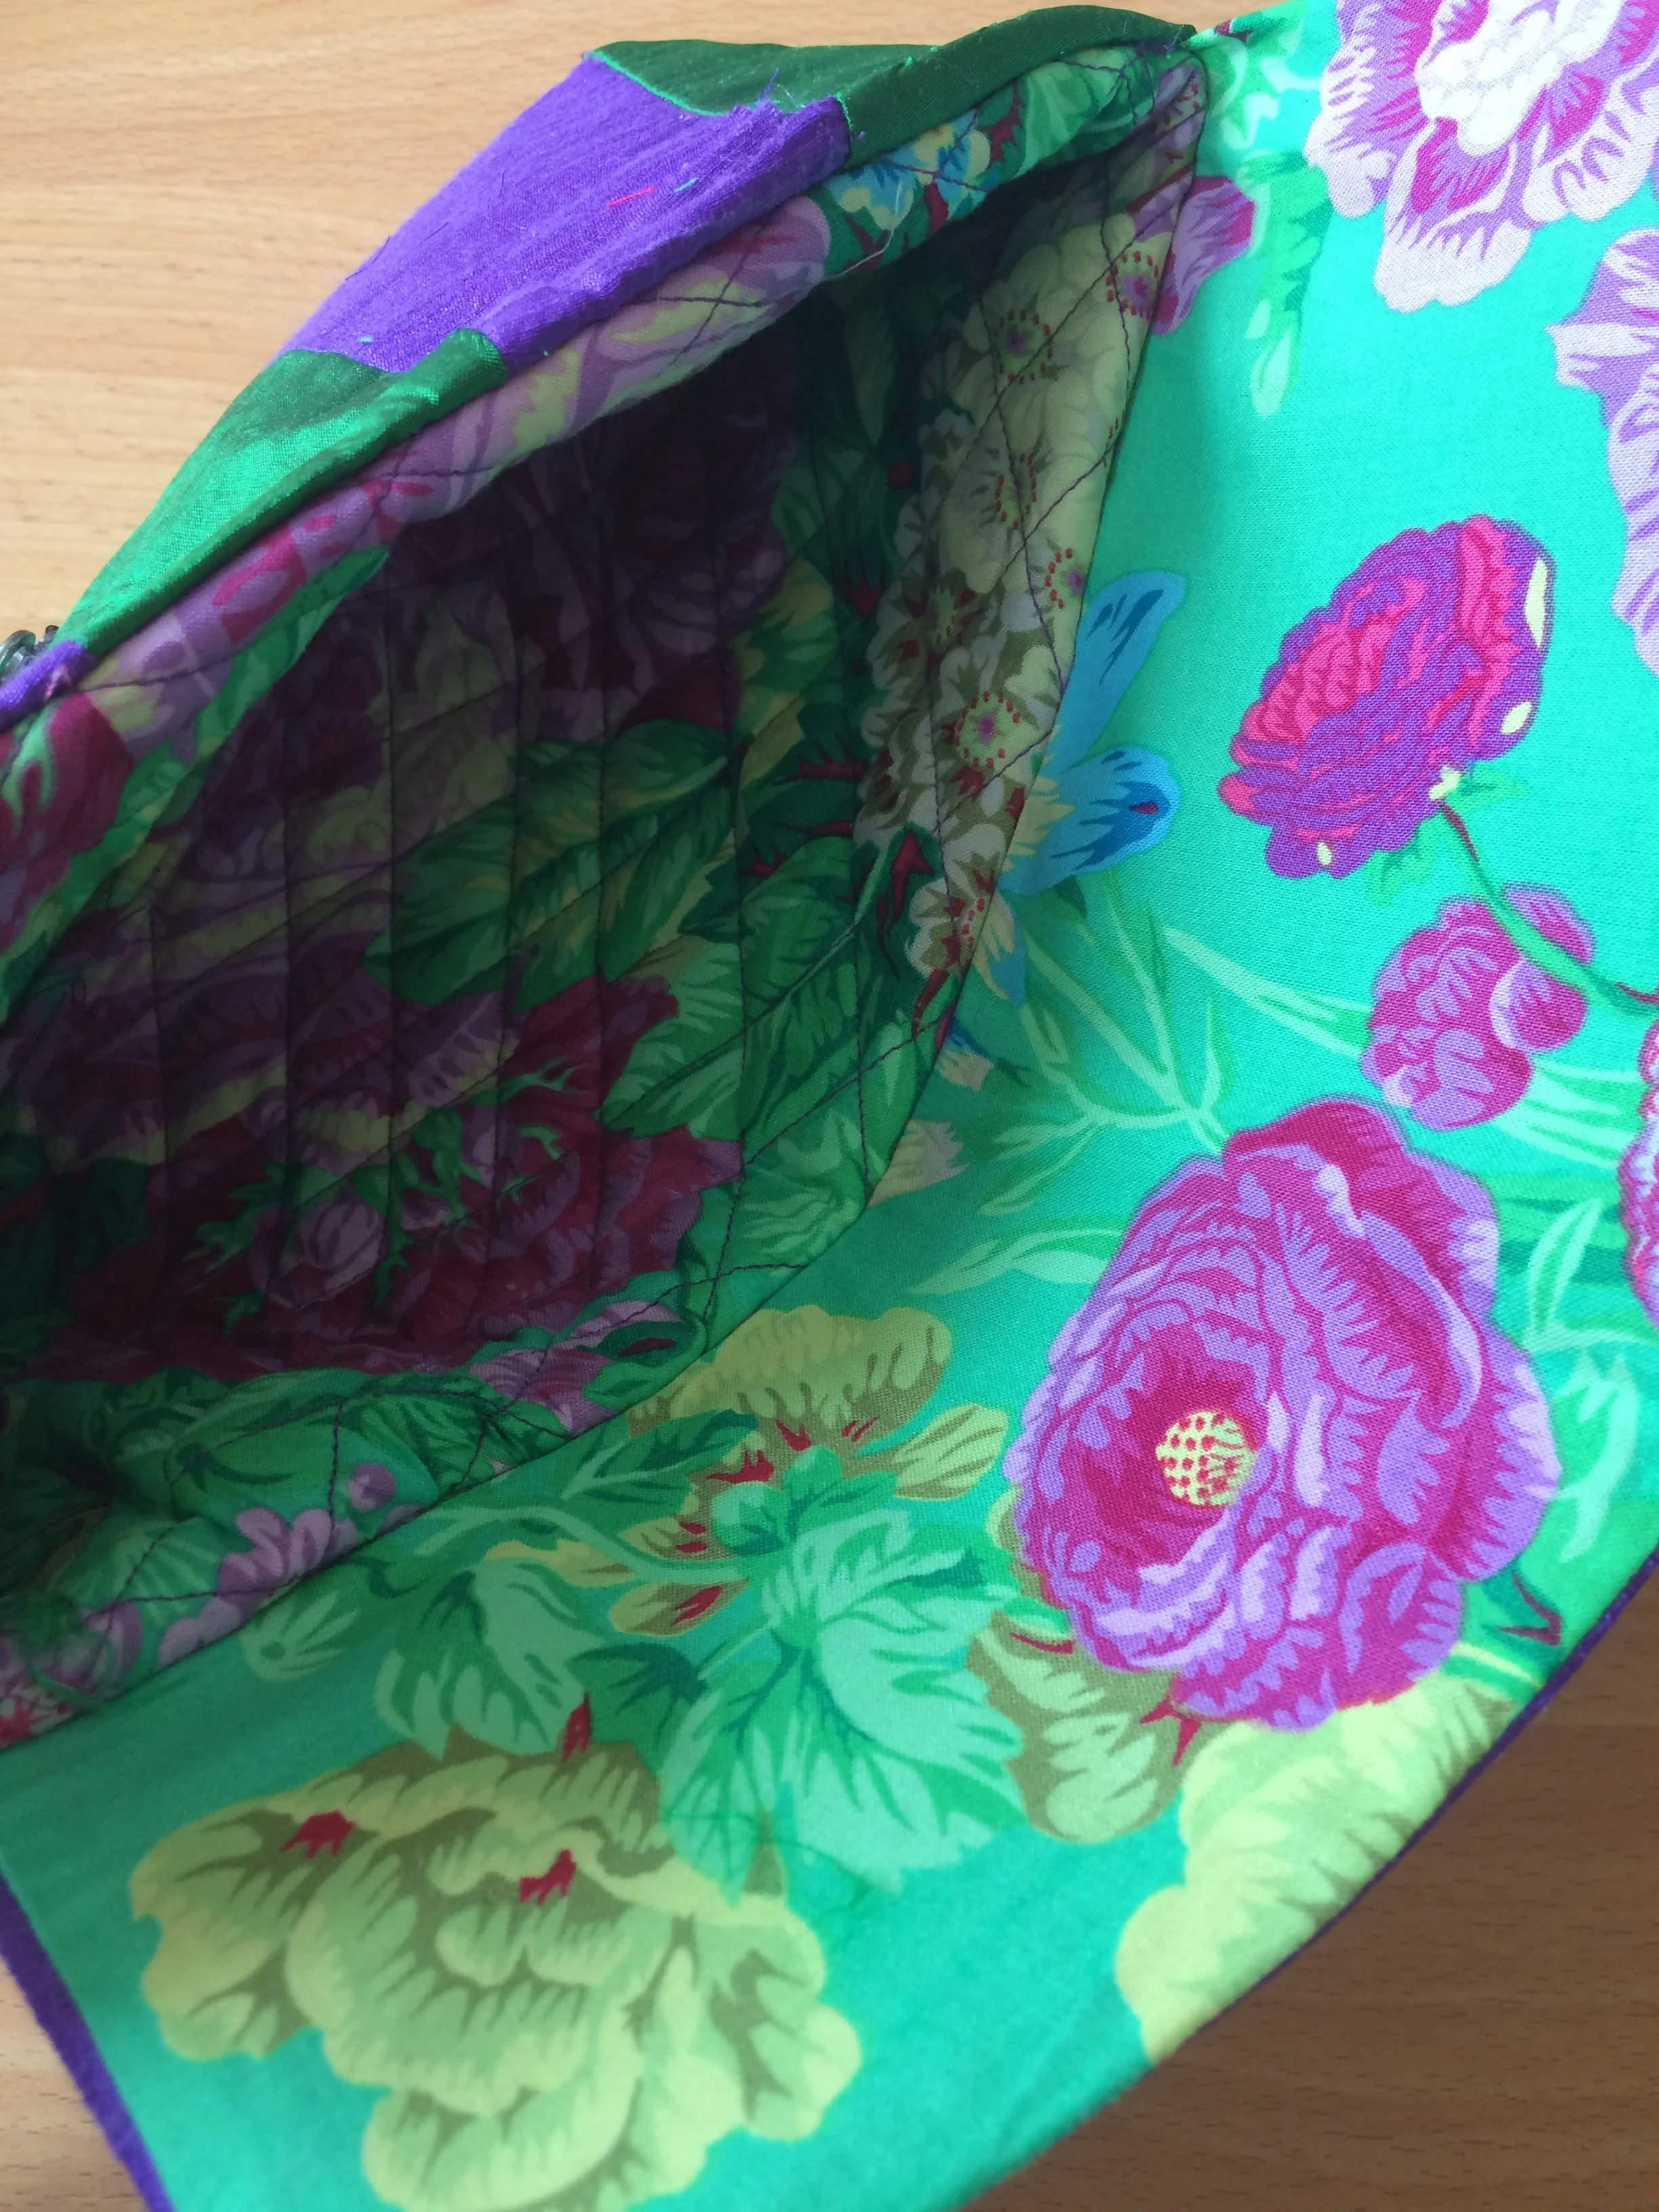
The pattern is from Cool Crafting in Skipton. I had bought it a while ago with the intention of making a wool clutch like the one on the front cover, but it seemed like it might work for this project as it allowed me to use a few colours. Looking at the dress, I auditioned a few scraps of silk and made the decision to stick with the purple and green in the dress. I ordered in a few pieces and was lucky that they colour matched really well. I wanted the lining to be dramatic and found some Philip Jacobs fabric in my stash (I love it when your fabric hoarding pays off!) which was just perfect. I treated myself to some delicious Oliver Twists hand dyed variegated threads from Etsy, to go with it and it seemed like the perfect mix.

As I was going to add some embroidery, I decided to enlarge the pattern alittle, so having made it 20% bigger I cut out the pattern pieces from silk dupion. I haven't used this kind of fabric much before and it was quite hard to work with. It frayed quickly so it seemed to me that there wasn't much room for messing about with the pieces. I added some iron on interfacing to the flap quickly which gave it some stability and then I tried a few combinations.

One thing I can say for sure is don't make decisions about this kind of thing late at night in the electric light. Colours look different and silk has this sort of shadowy hue that seems to change colour with the change in light. In the end, I didn't use the above combination, but didn't finally decide this until I had worked the embroidery on the flap. I didn't want to take any chances with this and so I returned to a favourite motif that I had used before in an Anna Maria Horner project - the echinea flower.
In retrospect I made a mistake here. I should have drawn the outline of the pattern on the fabric - added the iron interfacing and put it in a hoop to keep it taught and stop it from stretching and then cut it out. Instead, having already cut up my fabric , I worked it without a hoop and it did become a little distorted and pulled. Once I pressed it, it was better, but still it would have been better to cut it out afterwards. Anyhow the embroidery went well. I love this very fine cotton variegated thread - it is a joy to stitch with and the colours are stunning. I added a few more stems with lazy daisy lupin like clusters and to tie it in with my dress, some white colonial knots to give an encircling gypsophila effect. Once this was done, I looked again at the piecing for the front of the bag. I discarded the lighter green and the print and went instead for a simpler option of just the two colours, so as to let the embroidery do the talking. It was time to start constructing the bag.
I don't have many photos of the construction stage - mainly because I think I barely took breath or looked up from my sewing machine in the process. I am not so confident about this kind of sewing and was anxious the whole time that it wouldn't work out. Having stitched the main body of the bag, I felt that it needed more than just the interfacing to stiffen it and I added some wadding and quilting to the lining. It worked brilliantly.


When it was finished, I was so delighted that it went so perfectly with my outfit. Making something like this is very rewarding. You create a unique and interesting bespoke piece and it is a treasure for the future. I know that I will use this bag often...
Check out Cool Crafting's pattern on their website here and meanwhile, I will see you soon.
Ruby x